MAKE PAPER
1. Prepare
First find your paper. Anything uncoated works particularly well: printouts, sketches, essays, notebooks. Think about what you want to tear apart (newspapers are good for this). What would you like to create a new story on top of? Remember traces of your material will apear in the recycled paper: it is impossible to wipe them completely clean. Choose paper whose raw forms—color, shape, typography—you wish to elevate.
Then, your supplies: you will need a large plastic tub (it will need to fit your screen), a wire hanger and old pantyhose for the screen, a blender, water, and sunlight.
Bend the hanger into a rectangle. The hook can be used as a handle. Cut the panty hose at about knee-height and stretch around the wire frame. Tie the end to secure.
2. tear
Rip your paper into small scraps. Each step of this process reduces the paper into even more elemental bits. Notice as the pieces diminish: what aspects of the design disappears. What remains?
Soak all the pieces in a bowl of water.
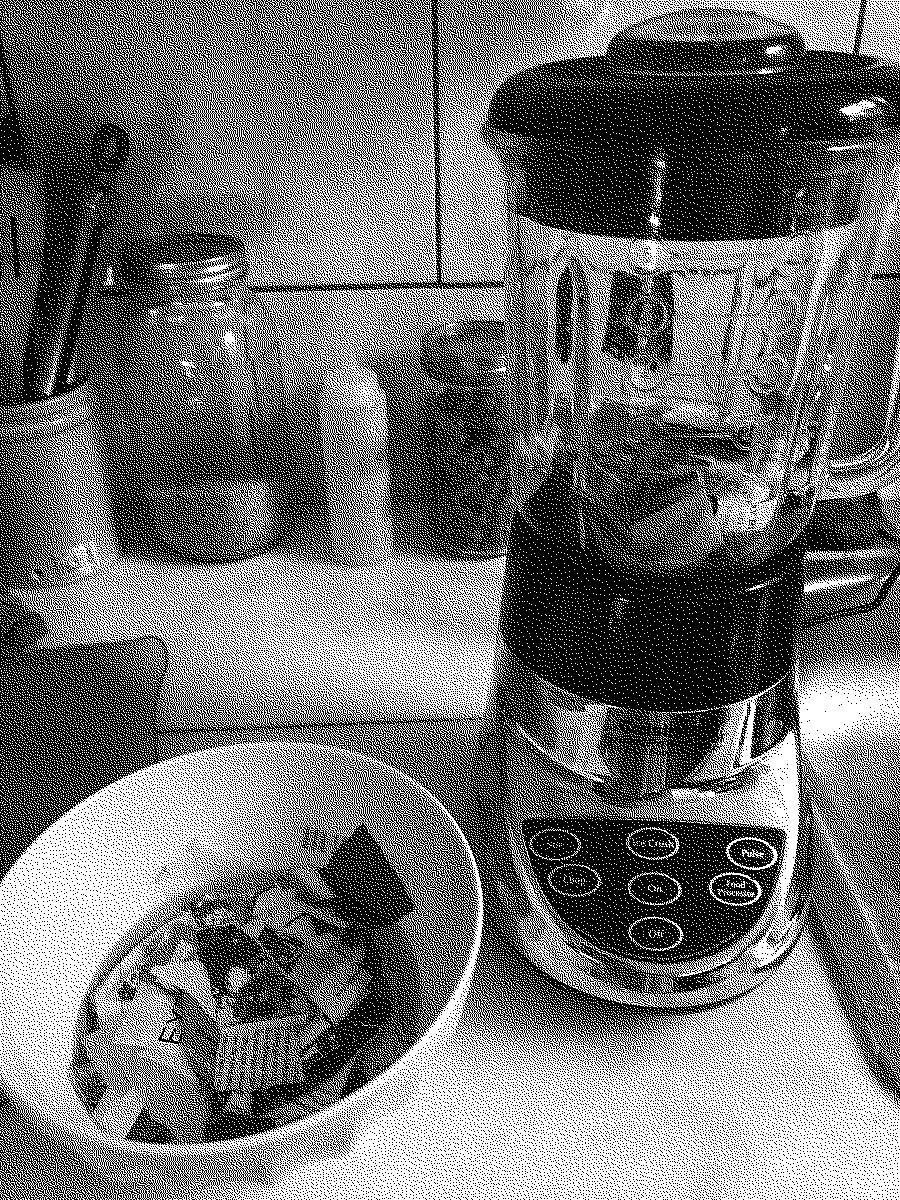
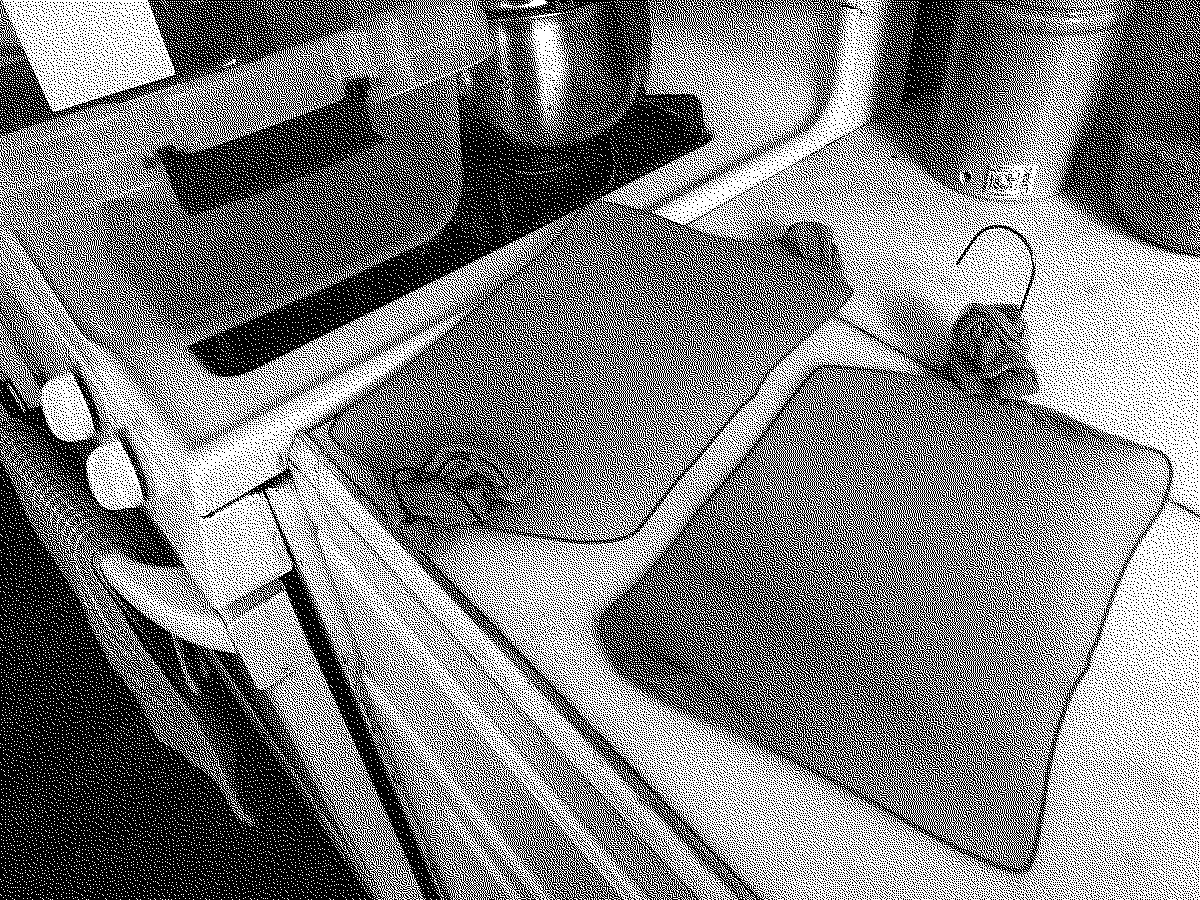
3. blend
Dump the paper and the water into a blender. Add more whater if necessary; the paper should be completely covered. Blend. It's up to you how fine or chunky you want the pulp to be. The more you blend, the more the details fade away and you impose your control on the paper. (But it is impossible to control completely.)
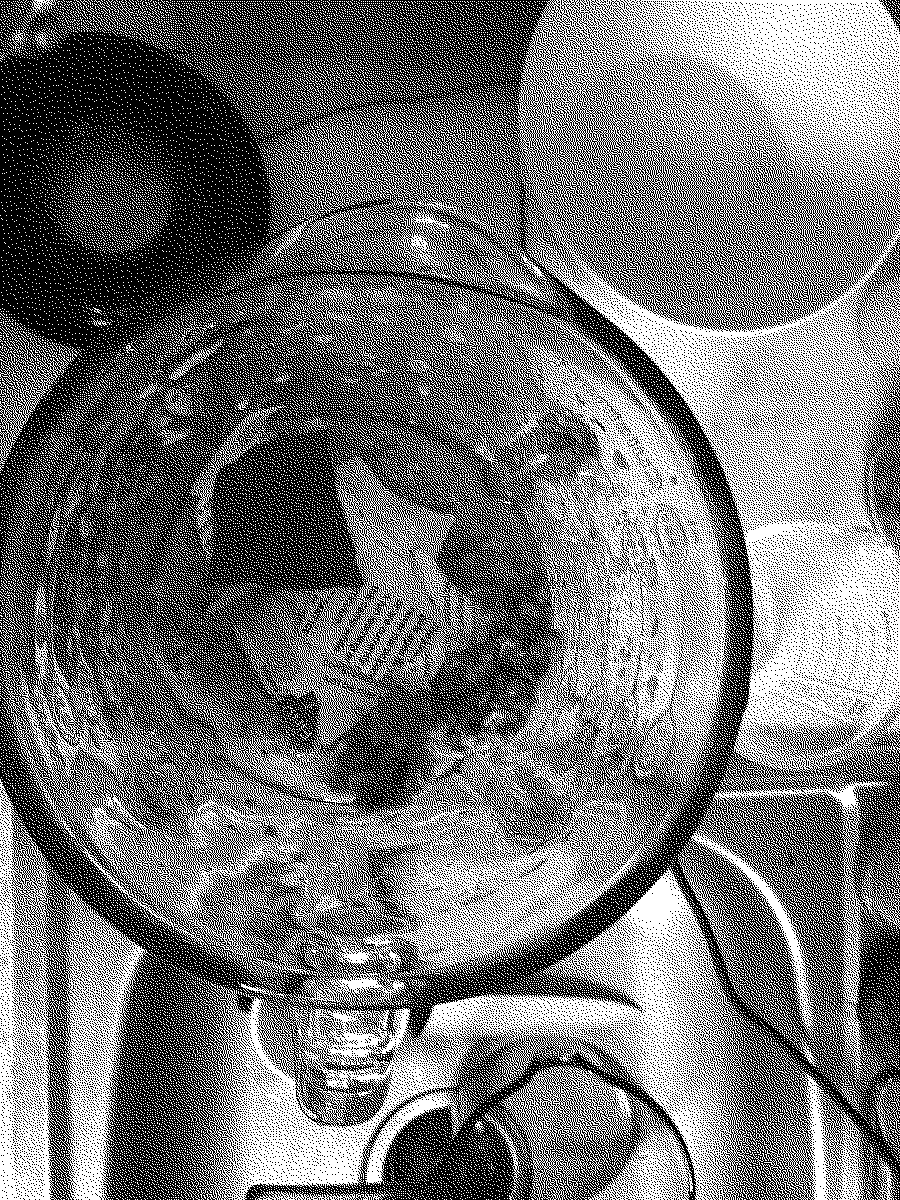
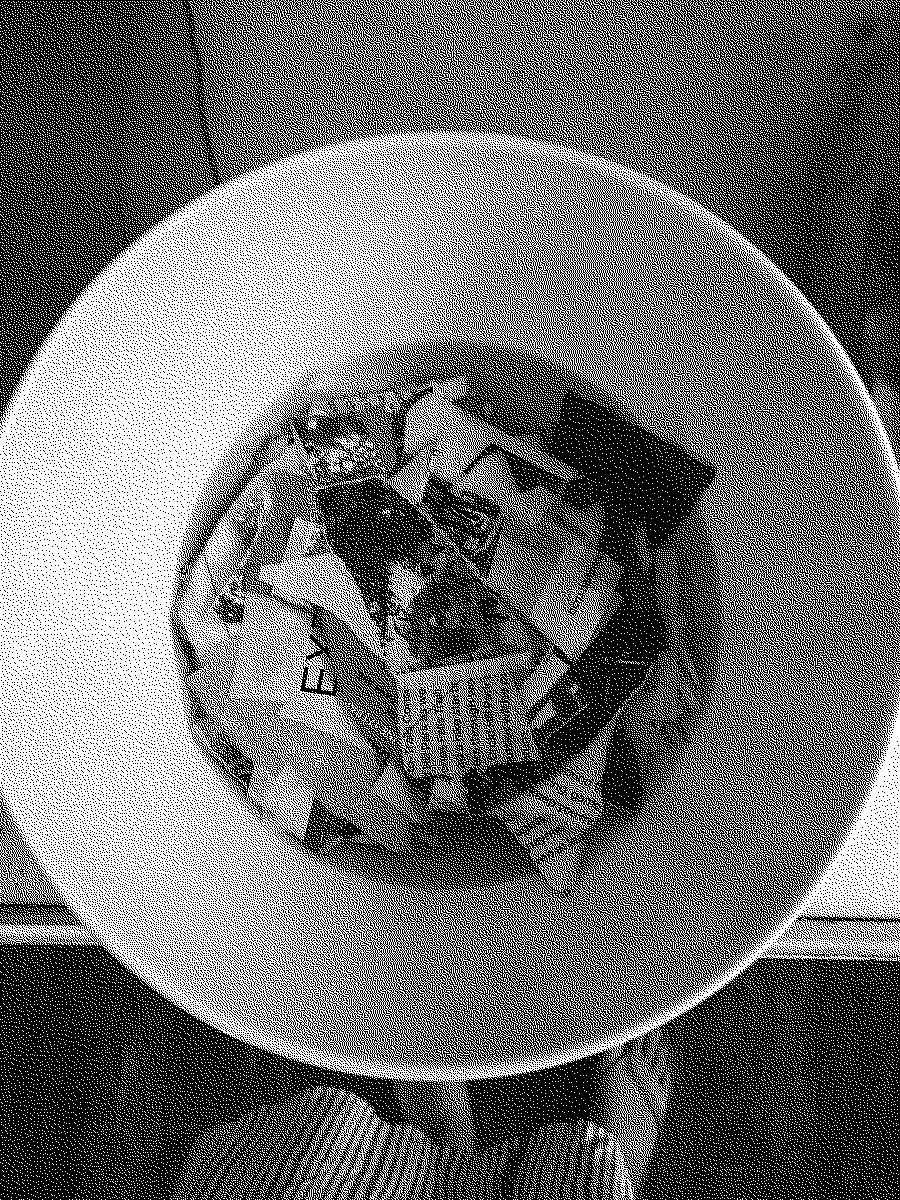
4. Strain
Fill the tub about half-way with water. Holding the screen over the tub, pour pulp and water over it, doing your best to spread it evenly. Submergre the screen in water, just below the surface, and shake it around a bit. You don't want the pulp to float away, just allow it some space for it to distribute evenly on the screen.
This step, of all of them, requires the most feel and practice. As you raise and lower the screen, watch how the pulp makes its way across the screen and the clever choreography of the tiny pieces. Remember to enjoy the feeling of the water, the pulp flowing through your fingers, the process of trial and error (since there is no way you can really fail).
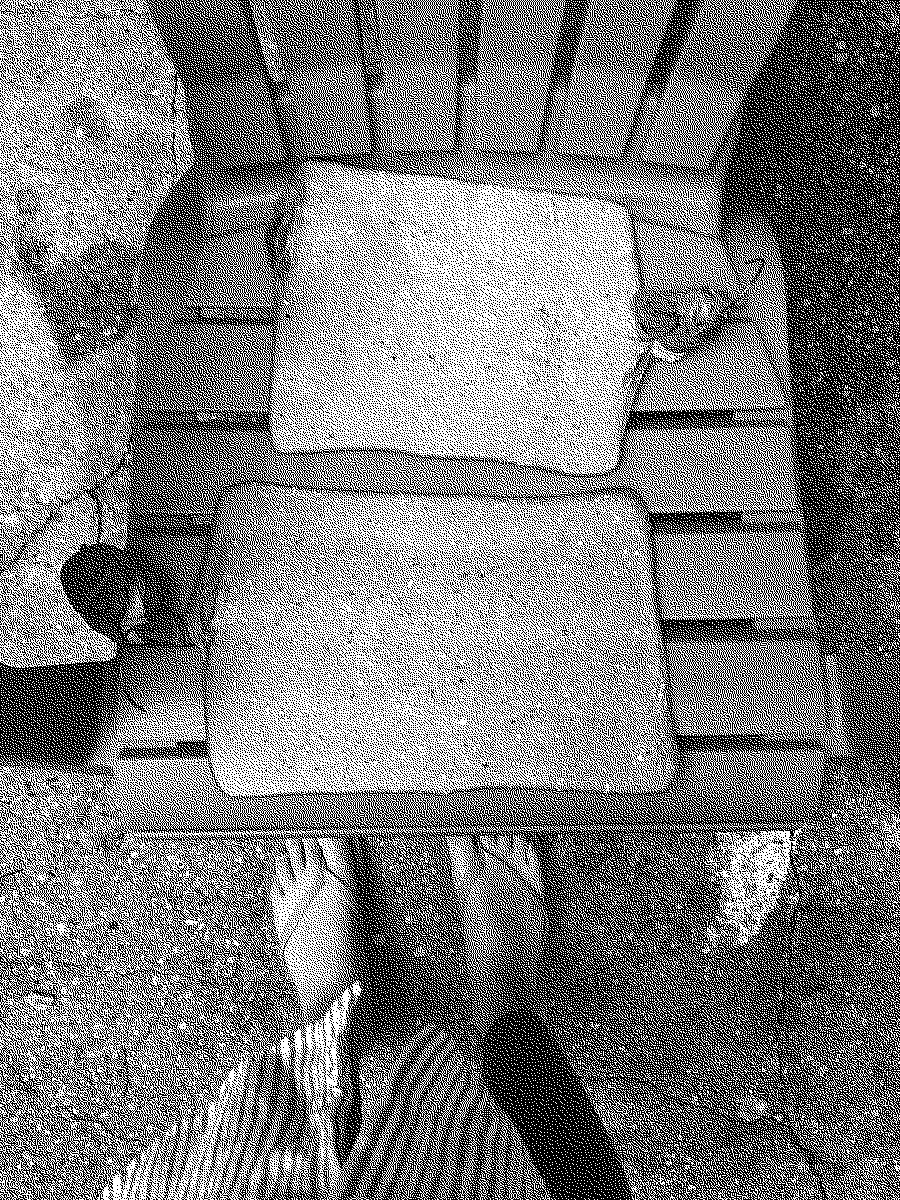
5. Dry
When you are satisfied with the distribution of the pulp on the screen, lift the screen up out of the tup and set it to dry. Placing it outside in a sunny spot is ideal. Let it sit for several hours. In the meantime, take a nap, go for a walk, or have a good meal.
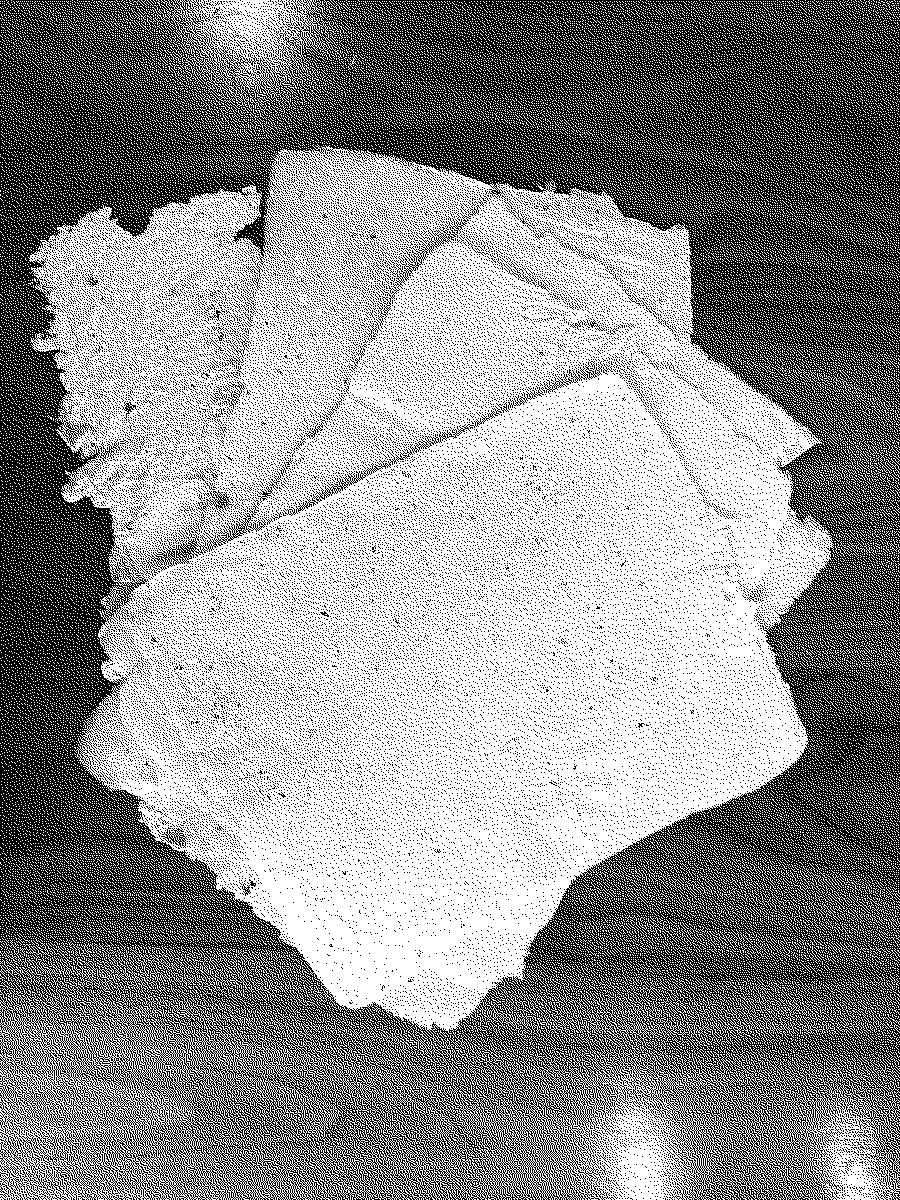
6. discover
When you come back you will find your paper pulp transformed into solid pieces. This happens by the process of magic. Once dry, slowly, carefully separate the paper from the screen.
Revel in the fact that you (re)made a thing. Its edges are imperfect, there might be a few rough spots, or holes, or inconsistencies, you can see pieces your old paper showing through, but find beauty in that.
Now that you've done it once, there is so much more to discover. Write something on the paper, and share it with a friend. Continue to experiment with the process. The exciting part about remaking is that it is never done.